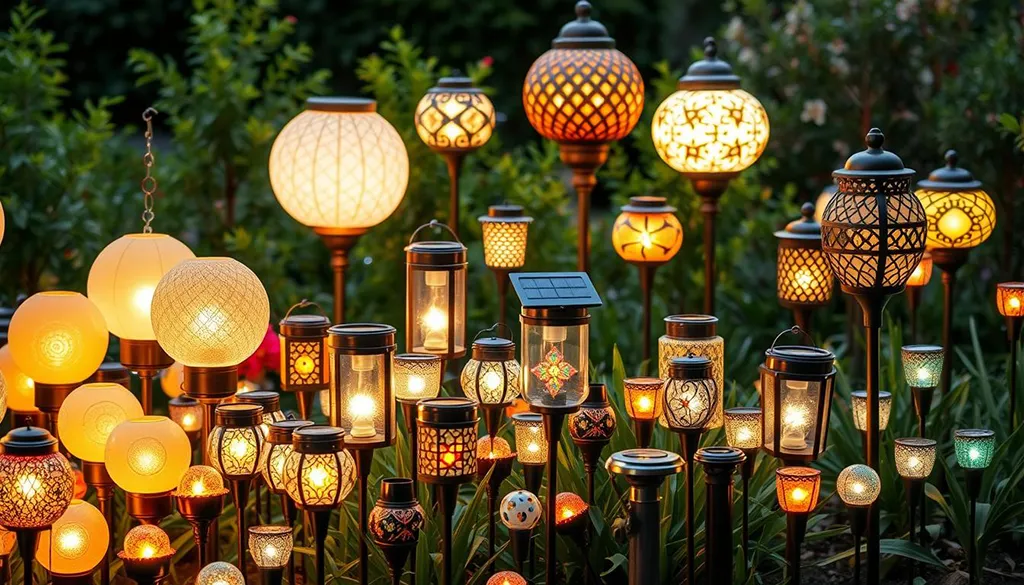
Create a miniature garden
Creating a miniature garden is a great way to get started with DIY while adding a touch of greenery to your space. To begin, choose a shallow container like an old basin or a large dish. Fill it with potting soil and plant small plants like succulents, cacti, or herbs. Add decorative elements like rocks, figurines, or pieces of driftwood to personalize your mini garden.
Make a birdhouse
Materials needed
To begin, you’ll need a few simple materials: quality wood, ideally pine or cedar, nails or screws, wood glue, and non-toxic paint for finishing. You can find all of these items at a hardware store. Remember to choose sturdy, weather-resistant materials to ensure your birdhouse lasts.
Construction stages
Start by cutting the wood pieces to the desired dimensions: a base, four sides, and a roof. Assemble the sides with wood glue and screws, then attach the base. Once the main structure is assembled, add the sloping roof to protect the birds from the rain. Sand the edges well to prevent splinters, and drill a small hole in the front for the birds to enter.
Customization options
You can add non-toxic paint for a pop of color. Consider using stencils to create unique designs. For a natural look, consider adding branches or seeds glued around the entrance. Your birdhouse will become a truly decorative element for your garden.
Build a compost bin
Selection of materials
To create a durable compost bin, choose durable materials like pallet wood or bricks. Avoid synthetic materials, as they can degrade over time. Also consider a tarp or mesh bottom to allow for proper ventilation while keeping pests out.
Mounting the tray
Assembling a compost bin is accessible to everyone, even beginners. Start by assembling the frame using wooden planks or bricks that you stack. Secure each piece securely with screws or special glue to prevent the bin from collapsing. Remember to leave spaces between the planks to promote air circulation.
Directions for use
Once your compost bin is set up, place it in a shady corner of your garden. Fill it with organic materials like peelings, coffee grounds, and dead leaves. Avoid dairy products and meats. Remember to stir the compost regularly to speed up the decomposition process.
Create vertical planters
Choice of support
To create vertical planters, start by choosing a suitable support. Wooden pallets, wire mesh, or old ladders can all make excellent supports. Make sure they’re sturdy enough to support the weight of the pots and plants.
Installation and fixing
Secure your vertical support against an exterior wall or fence. Use sturdy hooks or specific fasteners to ensure stability. Then hang your flower or plant pots on the support, spacing them far enough apart to allow for proper growth.
Planting and maintenance
Plant your favorite plants in the pots. Choose climbing plants, aromatic herbs, or small flowers. Water regularly and make sure each plant receives enough light. A well-maintained vertical planter can transform any wall into a lush garden.
Making homemade candles
Making homemade candles is an easy DIY project that can add a cozy atmosphere to your home. To begin, you’ll need the following essential ingredients: wax (often beeswax or soy wax), wicks, candle dyes, and essential oils. The steps for making candles are simple and fun. First, melt the wax in a double boiler until it is completely liquid. Next, add the dyes and essential oils of your choice to scent and color your candles. Pour the liquid wax into prepared containers with the wicks attached to the center. Let it cool and solidify. To personalize your candles, you can play with scents and decorations. Essential oils like lavender, lemon, or cinnamon are perfect for adding a unique touch. You can also incorporate dried flowers, glitter, or paint the jars for a unique and personalized decoration.
Make a wall shelf
Materials and tools needed
For this project, you’ll need a few basic materials like wooden boards, rackets, screws, and a paint of your choice. Tools you’ll need include a drill, a spirit level, a saw, and paintbrushes. Remember to take careful measurements to ensure everything fits perfectly.
Assembly instructions
Start by cutting the boards to the desired size. Next, attach the brackets to the wall where you want to install the shelf, making sure to use a spirit level to ensure horizontality. Then screw the boards to the brackets. Your DIY project is almost complete!
Tips for a successful finish
For a nice finish, consider sanding the edges of your shelf and applying a coat of paint or stain for a personalized decorative touch. You can also add small touches of paint to the brackets to integrate them into the existing decor. Don’t hesitate to consult a book or online tutorials for more inspiration and tips.
Build a garden bench
Choice of materials
When building a garden bench, choose weather-resistant materialsWood is an excellent option; oak, for example, is very durable. You can also opt for treated metal or composite. Don’t forget stainless steel screws and nails to prevent rust.
Construction stages
Start by cutting the boards to the desired dimensions of your bench. Then assemble the pieces, starting with the frame. Add the bench legs, then attach the seat and back boards. Use a level to ensure everything is straight before tightening the fasteners.
Finishes and decoration
For finishing touches, you can sand the wood for a smooth surface, then apply a coat of varnish or paint. Choose a color that complements your garden. For the final touch, you can add cushions or decorative elements to make your bench more comfortable and aesthetically pleasing.
Create a plant frame
Pl.ant selection
For a successful green setting, choose low-maintenance plants. Succulents are ideal because they require little watering. You can also opt for air plants that don’t require soil. Vary the colors and textures for a captivating visual effect.
Preparation of the structure
You’ll need a wooden frame, moss netting, and wire mesh. Secure the moss inside the frame and then add the mesh on top. The moss will retain moisture and provide stable support for your plants. Make sure the frame is sturdy and can support the weight of the plants.
Plant installation
Make small incisions in the mesh to insert the plants. Avoid crowding the roots too tightly to allow them to establish themselves well. Remember to space your plants far enough apart so they can grow without crowding each other. Once all the plants are in place, water lightly and hang the frame in a bright location.
Create Bird Fat Balls
Ingredients and equipment
Bird fat balls are a great, easy DIY idea to attract animals to your garden. You’ll need vegetable or animal fat, sunflower seeds, unsalted peanuts, oatmeal, and a few small containers to mold the balls. Also, make sure you have parchment paper, a large spoon, and string to hang the balls.
Manufacturing instructions
Start by melting the fat in a saucepan over low heat. Once melted, add the seeds, peanuts, and oat flakes and mix well. Pour this mixture into containers lined with parchment paper . Place a piece of string in the center before the fat cools, so that it extends beyond the edge to allow for hanging. Let it cool until completely solidified.
Hang in the garden
Once your fat balls are ready, carefully remove them from the containers. Choose strategic locations in your garden to hang them, such as on tree branches or near your house . Birds will appreciate this food source, especially in winter. Make sure to place the balls at an appropriate height to avoid predators like cats.
Build a children’s playhouse
MMaterials needed
To build a treehouse that will make your children dream, you’ll need a few basic materials. Plan on wood for the frame, screws and nails for assembly, and pieces of fabric for decoration. You’ll also need craft tools like a saw, a drill, and sandpaper to finish it off. Don’t forget small decorative touches like string lights or colorful cushions to make the treehouse even more inviting.
Manufacturing steps
Start by drawing a plan for your cabin and cutting the necessary pieces of wood. Assemble the basic structure, ensuring it is stable and secure. Screw the pieces together and sand the edges to prevent splinters. Once the structure is assembled, install the roof and add one or two windows to let in light. To finish, cover the wood with a coat of paint suitable for exterior use.
Safety and decoration
Safety is paramount when creating a craft project for your children. Make sure the playhouse is stable and that all screws are securely fastened. Use solvent-free products for interior decoration. To personalize, let your children participate by choosing colors or adding their own drawings to the walls. Also, consider adding a few games or a small bookcase to make the space even more fun and enjoyable.